THE CAUSE OF A WATER LEAK IS OFTEN POOR MAINTENANCE
PREVENTION IS ALWAYS YOUR BEST DEFENCE AGAINST WATER LEAKS
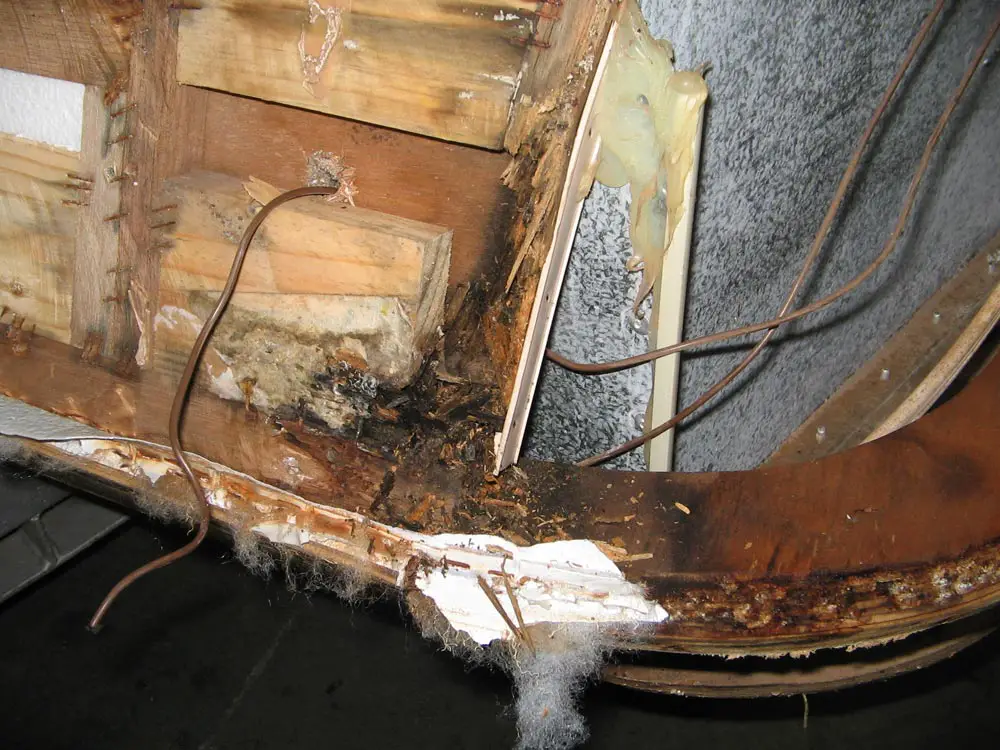
One of the primary reasons for recreational vehicles being sent back for repairs involves water damage. Sometimes it’s damage that has built up over time, such as an undetected leak that eventually results in rotten timber framing or fungus and mould. Other times it’s damage from a storm when seals don’t work the way they should, or prolonged exposure to moist coastal air and sea breeze.
So, how do we stop water ingress on our pride and joy? After catching up with Peter and the team from Advantage Caravan Repairs, it turns out it’s easier than you think!
POTENTIAL POINTS OF WATER INGRESS
Caravans are prone to water leaks. They are very common and unfortunately by the time you become aware of a water leak, often substantial damage has already been done. Water leaks are sometimes not covered by your insurance, as the cause of a water leak is often the result of poor maintenance. Repairs can be very costly. Obviously there are times where your insurance company will pick up the tab: for example, if the leak stems from an accident.
Prevention is always your best type of defence against water leaks. This boils down to simple, routine maintenance and adequate storage of your caravan.
The most common types of leaks are:
- Leaks caused from seals that have not been properly maintained. The result of this could be a leaking hatch, window or roof.
- Leaks caused by poorly fitted aftermarket accessories. For example, a badly placed rooftop air conditioner or incorrectly positioned awnings.
- Leaks caused by faulty or damaged plumbing. For example, a leaking pipe in your shower.
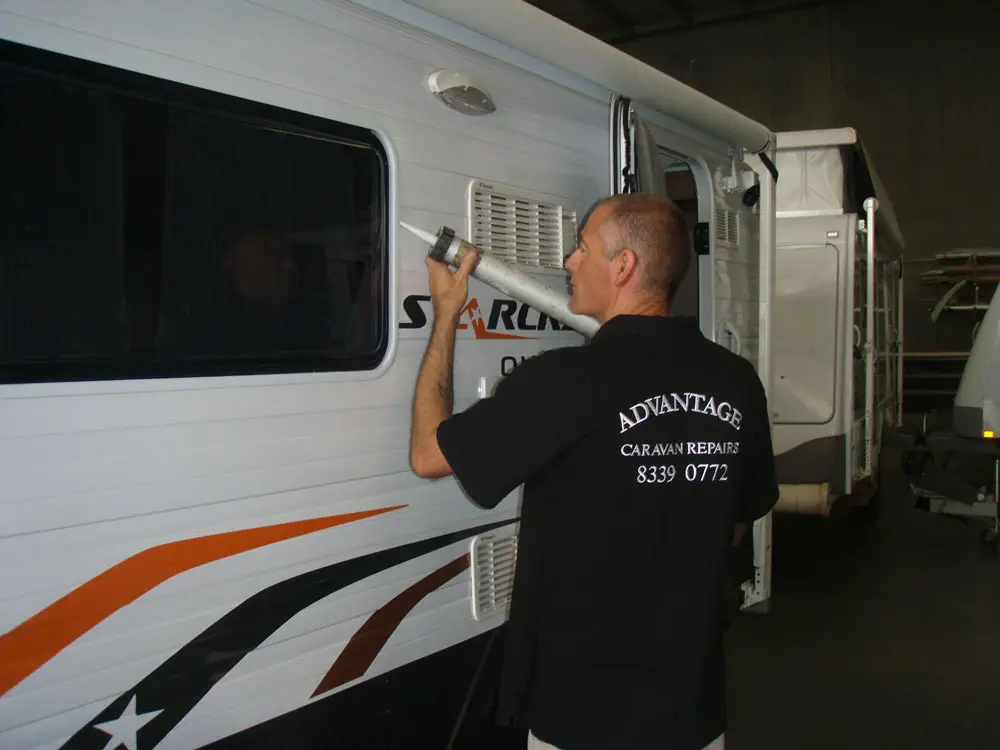
Seals do need to be checked and replaced. This means roof seals, seals that bond your window to the body of your caravan, seals around any aftermarket accessories that you have had fitted to your caravan and seals around all lights. Caravans move and are also exposed to the range of weather that we have here in Australia: extreme heat, cold, hail and rain. The combination of these factors means that the silicone applied to your van at the point of manufacture does and will break down, resulting in it lifting and allowing an entry point for water. The entry point for water does not need to be huge in order for substantial damage to be done.
The interesting thing about water leaks is that the visible damage may not necessarily reflect the entry point for the water. Water travels and ‘pools’, and it is often where it pools that it does its damage. If this is the case, both the entry point and the area of damage need to be repaired.
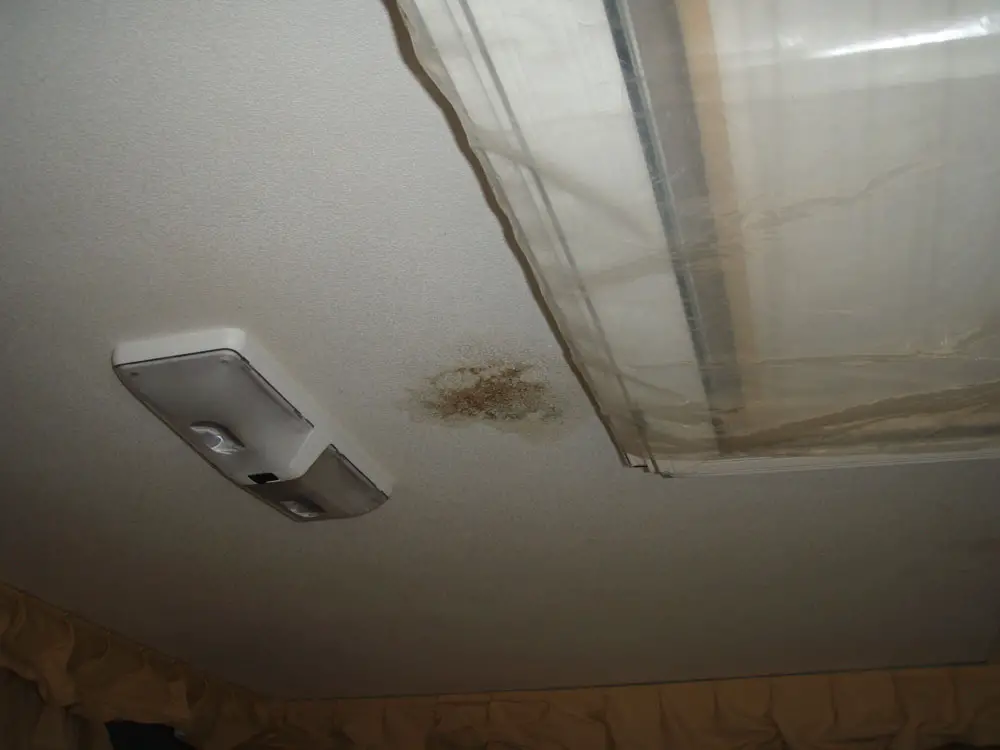
We asked the ACR team if there is an easy way to spot a water leak, and what action RV owners should take. “The first sign of water damage that most people see is damaged or stained plywood on either the wall or roof ply,” they told us. “If there is damage to either of these, it is almost certain that your frame is damaged as well. Any water inside your van should be investigated straight away. Don’t ignore it. The water will not mysteriously stop coming in and the damage will worsen. If left, the structural integrity of the van can be compromised. You may also smell a water leak. If your van smells damp, it’s worth investigating.”
“We also advise our customers to store their van adequately. Under cover is the best option. This protects the van from the weather and will lengthen the life of its seals. If you can’t store it under cover, buy a caravan cover. It’s also important to check your van regularly. Don’t lock it up once you return from your Christmas holiday and only go back in it again at Easter. Open cupboards, wardrobes, etc. to look for evidence of water.”
SIGNS OF WATER DAMAGE IN SECOND HAND RVs
When buying a second hand van it’s important to look not only at the décor, layout and colour scheme, but to also look out for evidence of water damage. Cosmetic things like curtains can easily be changed, but a rotted frame can be costly and we have come across instances where a rotted frame warrants the van unusable.
Peter’s advice is to look for wall and roof stains and damaged plywood. Open cupboards, and have a good look and feel around. Get underneath the van with a torch and get your mate to stand inside the van. If he can see the light from your torch, that shows there is an opening. Any opening may pose a risk of water getting in. Also take note of how the floor feels when you walk on it. Are there any soft spots? If possible get a pre -purchase inspection done by a reputable repair shop. This may cost you a few hundred dollars, but if it saves you from buying a lemon, then it is money well spent!
Thanks to Peter and the team at Advantage Caravan Repairs for their expert advice and input into this article.
P: (03) 8339 0772
E: [email protected]


