THE BEST BUDGET FREE-CAMPING UPGRADES
Getting the perfect free camp set up doesn’t have to be expensive! We scoured Australia to find you the best free camping set-ups available and went bush with the tourers behind them. We show you how you can stay off the grid for weeks on end without sacrificing comfort or practicality. You won’t find better value for money set-ups anywhere else!
TASSIE’S FINEST FREE CAMPER
MICHAEL POPE
ABOUT THE SET-UP
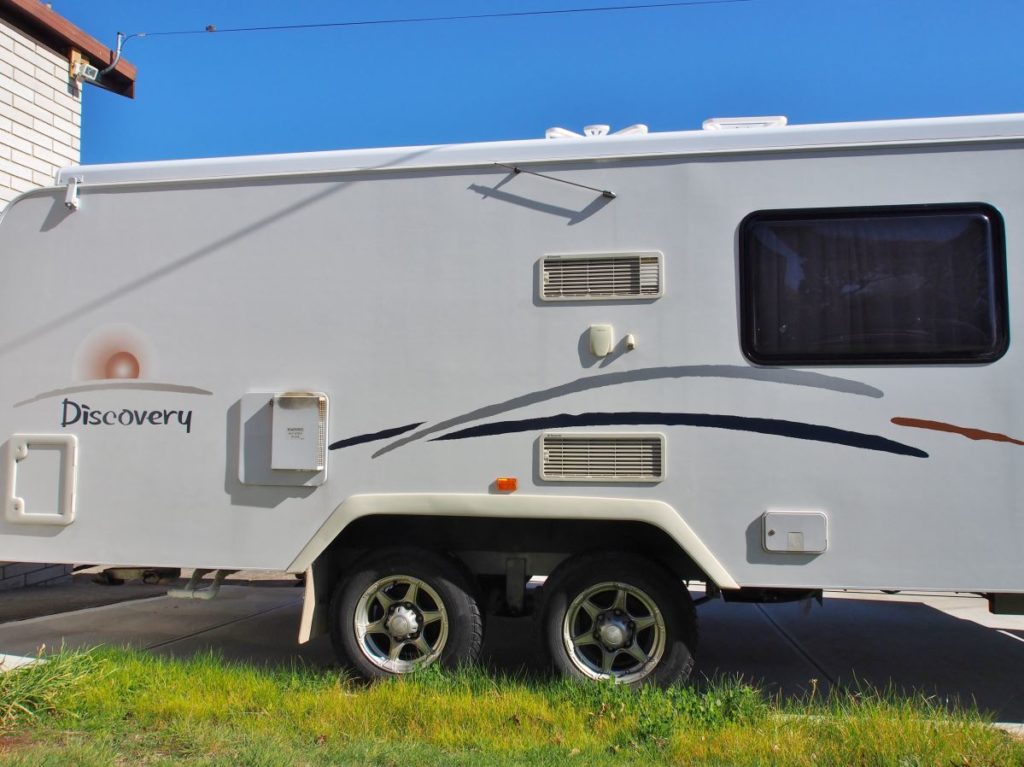
VAN: 2009 17” Jayco Discovery
VEHICLE: 2001 100 Series Toyota LandCruiser Automatic Turbo Diesel
COST
Van: $35,000
Upgrades: $5,000
Nights off grid: 10 days if using onboard water, indefinitely if next to a water source
REACH ANY FREE CAMP
I gained an extra 75mm of clearance, simply by having someone move my caravan axle from on top of the suspension to underneath. It was a little over $300, but has saved me an enormous amount of money in the long run. I haven’t noticed any difference when towing, but I love how easy it is to get to my favourite free camps now – even after rain! The other DIY that helped my clearance was moving the spare wheel, which was mounted in a cradle under the A-Frame, to the rear bumper. It was an easy do-it-yourself job that didn’t cost me a single thing.
DIY POWER SOLUTIONS
I was always envious that the new caravans had an outside power connection, as mine had no such luxury. I saved hundreds of dollars by building my own power box with 12V, 240V and a coax outlet in it. I then mounted weatherproof sockets with spring-loaded flaps in a heavy-duty box under the caravan, behind the step. This is great for plugging the fridge in outside and sitting back watching the TV while sipping a cold one. My next problem arose when the caravan fridge started to struggle at our summer free camps. I found the factory wiring was too small and was only getting approximately 10V DC to the fridge. Instead of forking out hundreds, I simply ran a dedicated 6mm power cable from the fridge to a new 12-pin trailer plug and socket set, right through to the tow vehicle’s auxiliary battery. The fridge works great now, and the beer and food is cold regardless of how hot my free camp is.

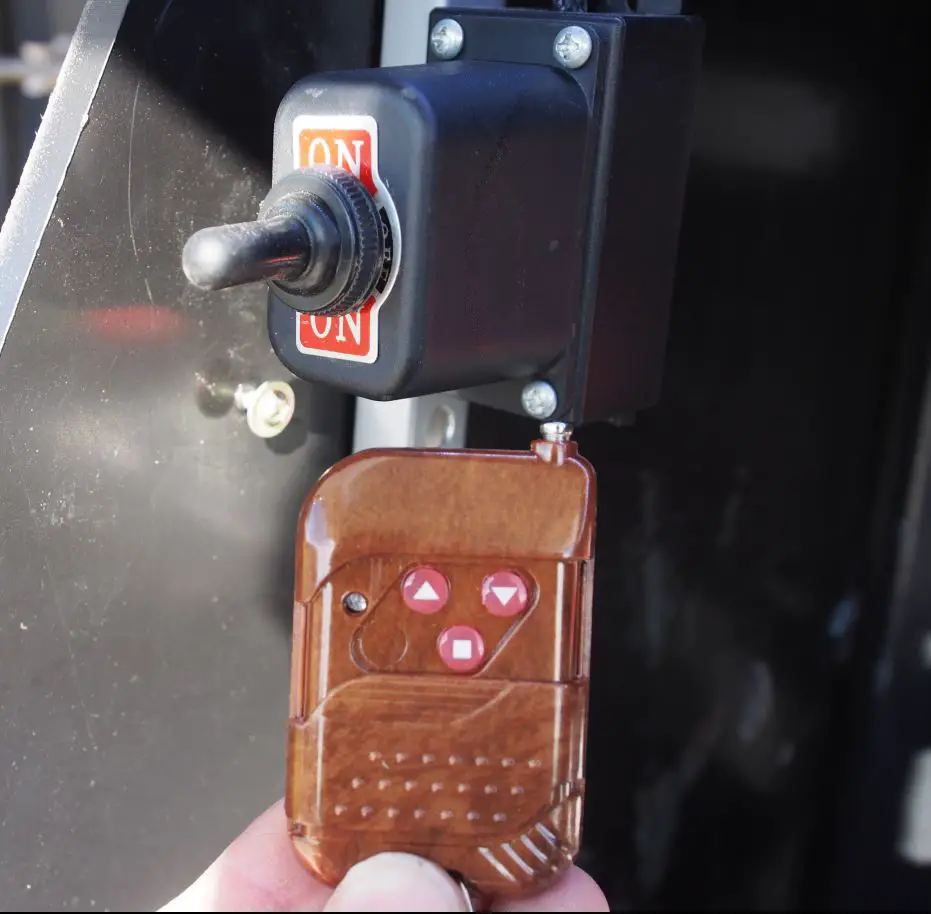
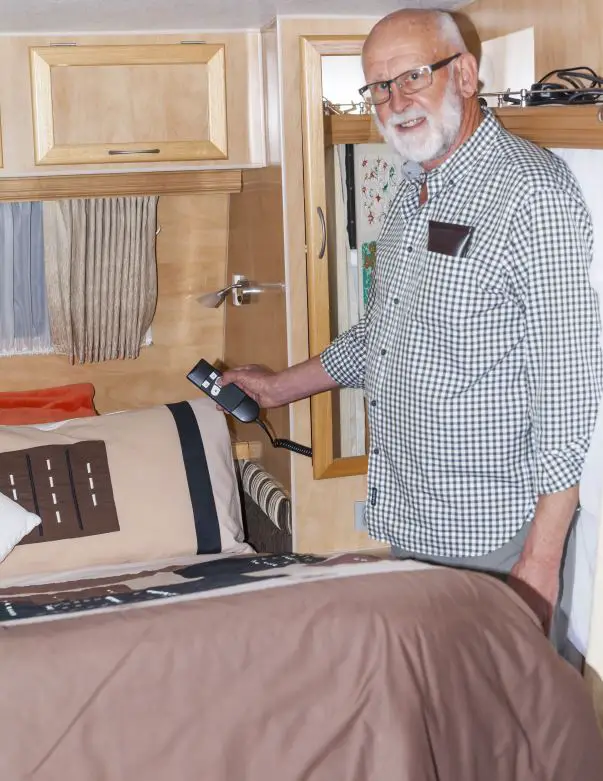
HANDS FREE UNHITCHING
Winding the jockey wheel for my caravan is out of the question for me thanks to a shoulder injury, but I have found the perfect hands-free alternative. I took an electric stabiliser leg that is normally used for 5th wheelers and fashioned a bracket for it before bolting it to the A frame. I then installed an up/down toggle switch on the inside of the front boot and added a remote control. Unhitching the caravan is now a simple, hands-free job that can be easily performed by anyone in the family. To do it yourself, you’ll need at least one good battery inside the caravan and some basic electrical skills. The job cost no more than $120, which is a small price to pay for painfree peace of mind – I also saved over $500 by doing it at home.
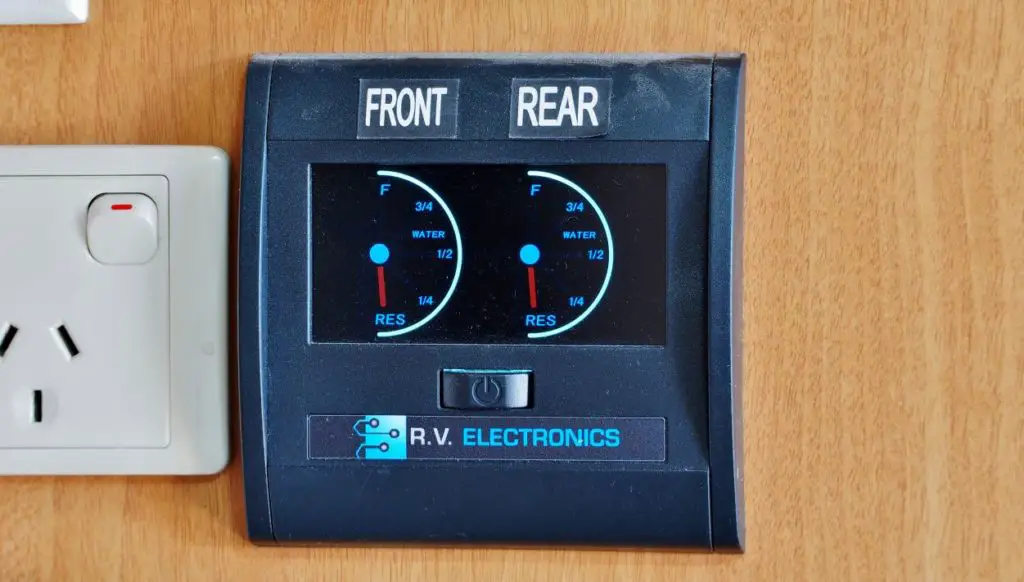
WATER METER
I installed a water tank level sensor to each of our water tanks and connected them back to the RV Electronics LCD screen inside the caravan. A quick push of the button, and I can see instantly how much fresh water we have left. It was a simple half-day job using basic handy-man tools.
FREE CAMP INVENTIONS GALORE!
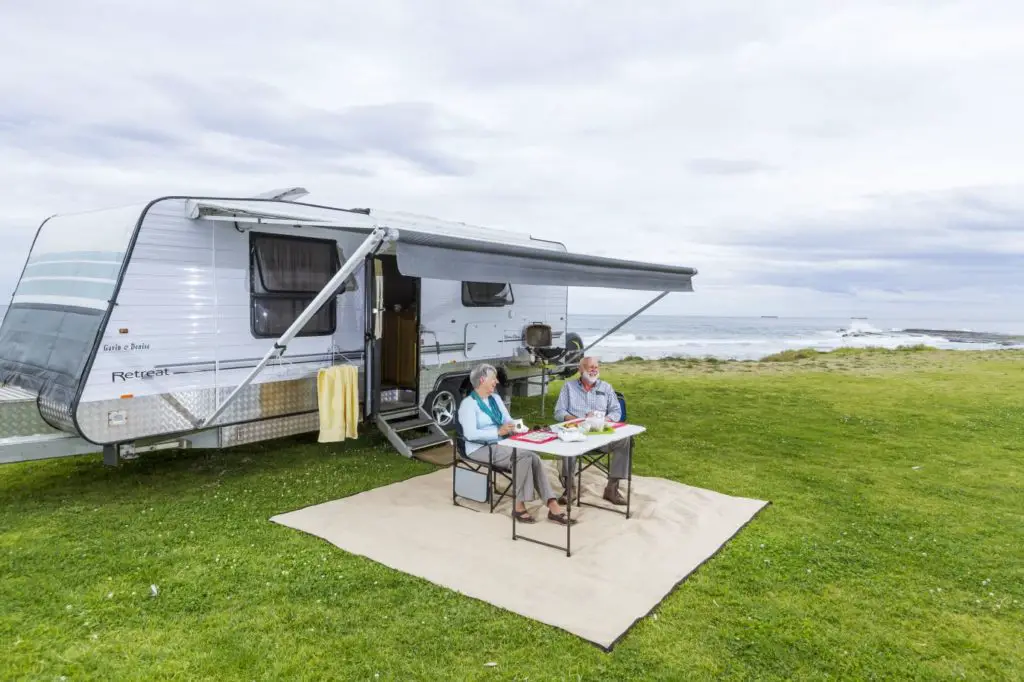
GAVIN & DENISE
ABOUT THE SET-UP
VAN: Retreat Hamilton
VEHICLE: Toyota LandCruiser 100 series turbo diesel
COST
Van: $65,000
Upgrades: $3,100
Nights off grid: 8 days
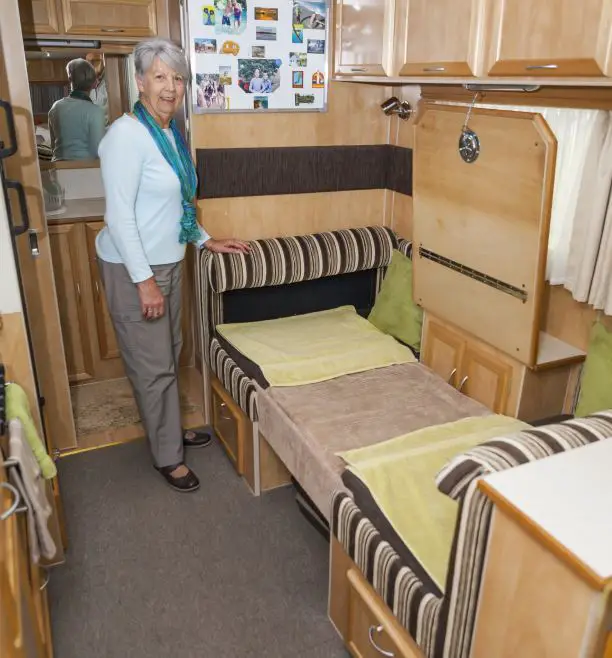
BUDGET BEDDING SOLUTIONS
Back strains and pains are a real problem when it comes to lifting heavy beds – this is why Gavin decided to find a simple, budget fix that would make the whole operation hands free. Gavin used electronic struts from an old chair at home to assist in moving the bed up and down with the aid of a remote. A couple of days of tinkering saw the old chair taken apart and given new life in Gavin and Denise’s caravan. When connected to 240V power, he plugs it into the power point next to the bedside table and if he’s free camping, he plugs it into the inverter he’s hardwired to the batteries in the van. “Everything was recycled, which means it didn’t cost us a single thing – yet it saved us hours of painful strains.”
The bedding ingenuity didn’t stop there! Gavin realised there wasn’t enough room for friends or family to sleep when camping. This prompted him to install a hook in the cupboard over his kitchen table and put in a small length of chain, a couple of screws and a mount to keep the table upright. He then fills the space below with a foam cushion to bridge the gap and create an extra 1.8m long bed. This budget fix means that thousands weren’t spent on a new bed and their vital interior space isn’t downsized – what a great idea!
OUR FIVE-MINUTE DIY FIXES
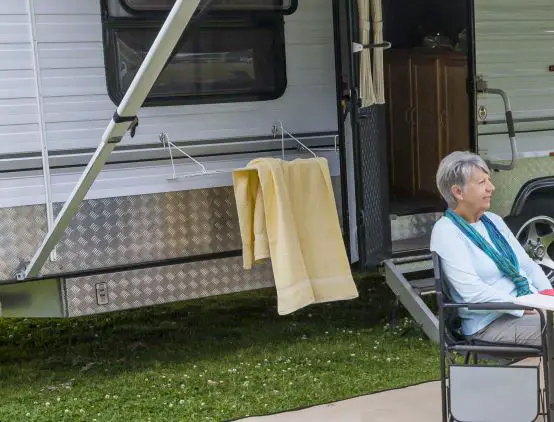
BUDGET METAL RACK
Gavin drilled two simple hooks into the side of his van so he could hang a cheap metal rack off it. The rack has a number of uses and can hold light-weight items or act as an outdoor towel rack for easy access.
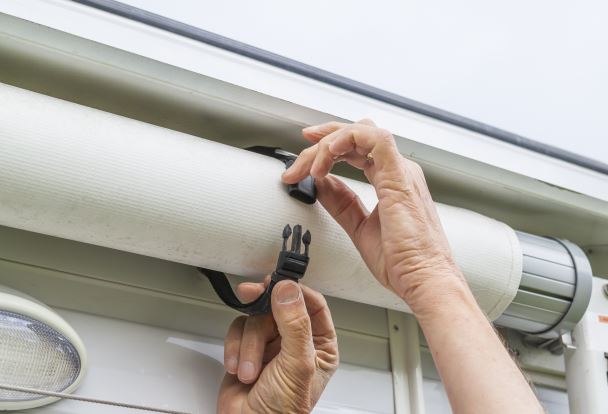
TROUBLE-FREE ANNEXE
We like to make sure that nothing will happen to our caravan or annexe on the road, which is why we bought two cheap clip straps to easily loop around our annexe and keep it rolled up nice and tight while we drive.
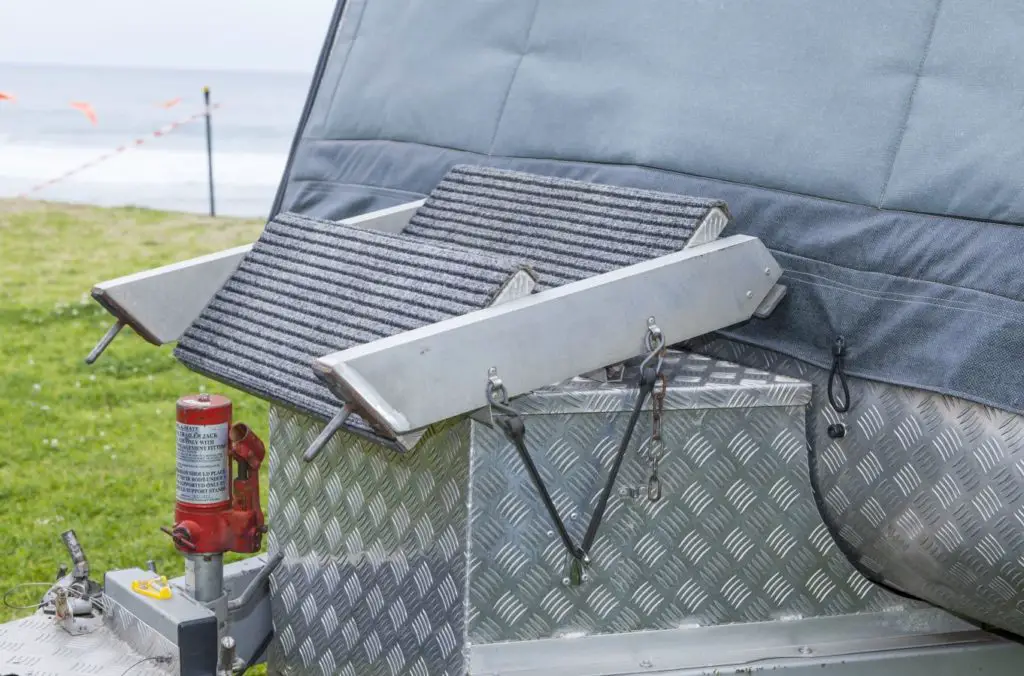
STAIRWAY STORAGE
Metal stairs can be very cumbersome and heavy items to transport, but Gavin has found an easy way around this. Using a strong piece of bungy cord, some S-hooks and U-brackets, Gavin has found a way to safely store his stairs out of the way.
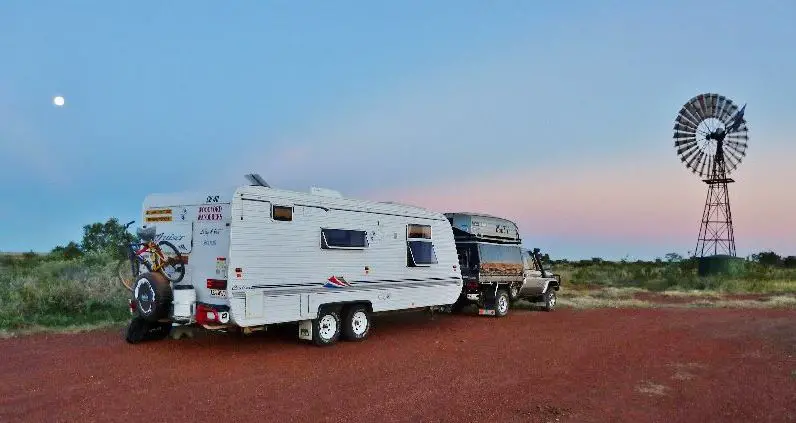
THE YEAR-ROUND FREE CAMPER
JANICE AND LARRY
ABOUT THE SET-UP VAN: 22ft Regent Cruiser Series 3 caravan
VEHICLE: 2005 turbo diesel LandCruiser Ute
COST
Van: $36,000
Upgrades: $7,000
Nights off grid: 65
THE FREE CAMP JANICE AND LARRY TRANSFORMATION
When we first bought the Regent Cruiser, it had no solar panels, one deep cycle battery, a standard chassis and 14” wheels that did not give us enough ground clearance for dirt road travelling or free camping. The first thing we did was fit an 80W solar panel to the roof and purchase two portable panels so that we had a combined solar capacity of 320W. The portable panels came with enough lead length to place them in the sun, whilst keeping the van in the shade – this is an absolute must for extended stays. Two deep cycle batteries were also fitted alongside the original one. Because Larry is a welder, he was able to reinforce the chassis and A frame by welding a piece of 100mm x 50mm rectangular hollow section to the rear of the van from one side of the chassis, to the other. He then stitch welded a length of 50mm x 6mm flat mild steel to the original one of the same size on the A frame. A qualified engineer inspected the workmanship and provided us with a ‘Certificate of Modification’ taking the ATM from the original 2,320kg to 2,700kg. This extra 380kg allows us to legally carry more essentials on the road with us. We also fit 15” wheels for optimum ground clearance and stone guards so that we could reach any free camp without damaging our van.
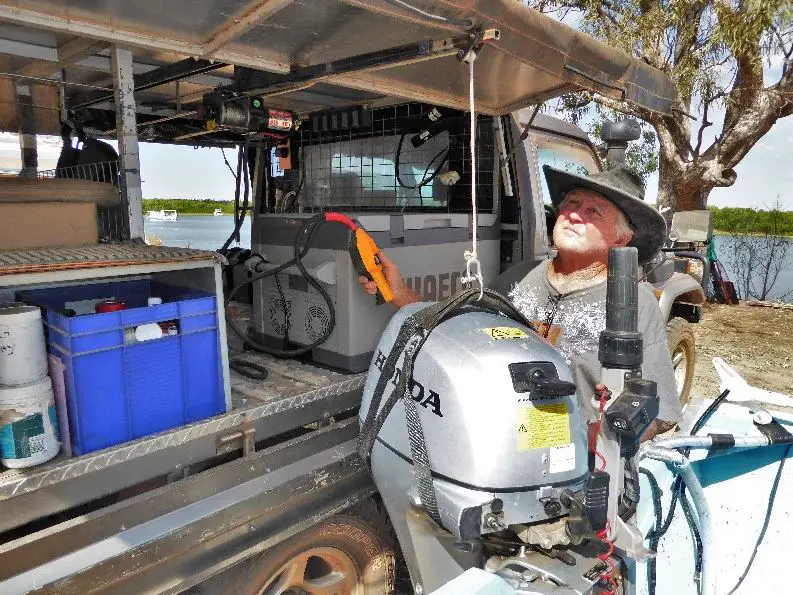
HOME-BUILT GANTRY
Everybody knows that it’s not just the van that needs to be set up for free camping; it’s the vehicle too. This is why Larry’s home-built gantry in the back of our ute is so essential to our free camping needs. We bolted it to the roof and installed a 12 volt winch so that we could easily transport the 20HP outboard motor to and from the ute without having to lift or strain. At times the freezer and generator are also moved to and from the ute in the same manner. We can also slide the winch and mounting bracket out of its socket and fit it to the bull bar to load and unload the tinnie from the roof rack. All of this was a simple, budget fix that saved us time and effort at every free camp!
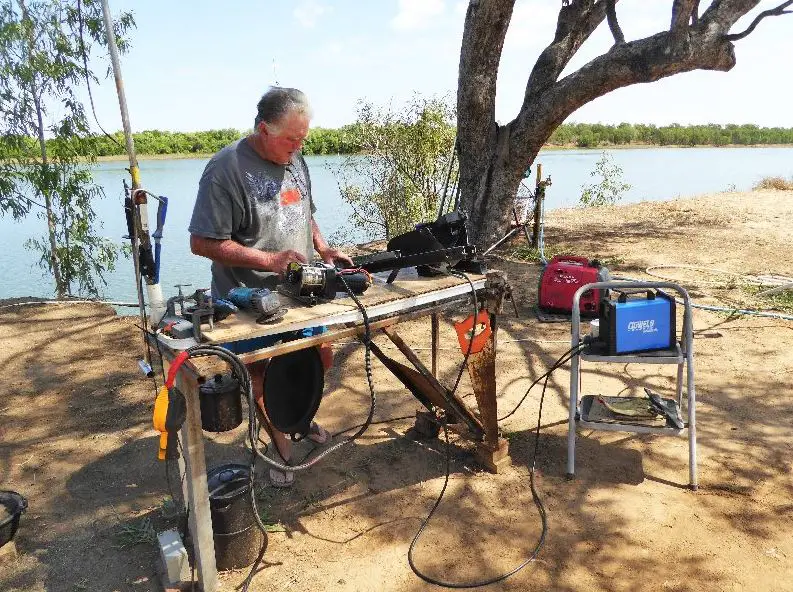
FANTASTIC WORKBENCH
The workbench is made of completely recycled equipment and provides a place to put everything he needs within arms reach. Our workbench only cost us a few hours of tinkering – and it’s been our best investment yet!
